Tuesday, October 5, 2010

ingredient: OATMEAL

Scottish dog, Irish oatmeal.


I love oatmeal. Right now, as fall begins its wet descent over New York, oatmeal tastes like nothing else. It’s hot and thick, and oh so comforting. Call me crazy, but I have a belief that oatmeal is in our genes. Our ancestors were eating whole grains for breakfast, looking out over the rain, cursing what the humidity was doing to their hair.


Oatmeal is part of my more recent family make-up as well. My father eats oatmeal for everyday for breakfast (plain; apples and cinnamon is for pansies you hear). I’m not talking some days, or even most days. Every. Single. Day. Rain or shine. Summer or winter. He’s eating oatmeal like it’s saving his life. Which it is!


According to the American Cancer Society, eating oatmeal on a regular basis can significantly reduce your chance of developing heart disease, which is a leading cause of death here in the US. And because it’s essentially a big bowl of insoluble fiber, oatmeal will regulate your blood sugar (making it great for diabetics and anyone trying to lose weight), reduce bad (LDL) cholesterol, and make you poop (hey, Alicia Silverstone claims constipation is becoming a national problem). Oatmeal has also got tons of nutrients that a lot of us are deficient in (iron, for one, for me).


There are a variety of oats on the market. You can buy rolled oats, ground oats, steel-cut oats, and quick-cooking oats. Keep in mind that when you’re cooking with oats the type does matter, so you want to be sure you buy the kind that is specified in the recipe. There are also a lot of Vasios-house prohibited flavored and instant oatmeals. But let’s be honest, in Scotland, the oatmeal Mecca, they don’t do this instant-oatmeal-in-the-microwave BS: they make it old school, on the stove, using arm power and whiskey. Anyway, believe me when I say that the Scots make one thick oatmeal. But that’s probably because when you visit, even in July, Scotland looks like this:


In the summer I like having my oatmeal Swiss-style, also known as muesli. Muesli is just uncooked oats, usually paired with dried fruit and nuts.


Really, though, I just love that when I eat a bowl of oatmeal it practically sings to me:

I WILL arise and go now, and go to Innisfree

And a small cabin build there, of clay and wattles made;

Nine bean rows will I have there, a hive for the honey bee;

And live alone in the bee-loud glade.*


Do your cornflakes do that? I didn’t think so.


Chewy Cherry Chocolate Chip Oatmeal Cookies


I just like the nubly texture and nutty flavor of oats. To give you a sense of my tastes, I’d choose crunchy over smooth peanut butter, and a minestrone over a purée. If that makes me a plebian, then bring on the mead. Or I’ll just make these cookies, which I bulk up with extra oats. And cherries. And chocolate. And a bit of salt. They are insanely good. Case in point, my friend bit into one for the first time, laughed, and said, “holy crap.”


This makes like 2 dozen biggish cookies. Actually, I’m taking that back. It makes two dozen cookies. Because who on Earth actually ever gets the amount of cookies from the dough that the recipe claims that it should make? What are we, mice?


ingredients:

2 sticks butter, softened (as in, leave the stick out on your counter for an hour or more)
1 1/3 cup light brown sugar, packed
2 eggs
1 teaspoon vanilla extract
1 ½ cups cup all-purpose flour
1 teaspoon baking soda
1 teaspoon ground cinnamon
1 teaspoon salt
3 1/2 cups rolled oats

½ cup or so dried cherries

½ cup or so chocolate chips


Preheat the oven to 350 degrees


In a large bowl, cream together the butter and brown sugar until smooth. Add the eggs and the vanilla and beat until incorporated.


In another bowl, whisk together the flour, baking soda, cinnamon and salt. Add the flour mixture to the wet ingredients.

Stir in the oats, the chocolate chips, and the cherries. I’ve approximated the amount of chocolate chips and cherries because I feel that cookie add-ons are really a matter of preference. For example, I like a lot of chocolate chips and cherries, so I probably put in at least a half to two-thirds a cup of each. Eyeball it. Start by adding in a half cup of each and mix them in. If you can tell you’d like to be able to get more filling in every bite, add away.


Chill the dough in the fridge for at least 30 minutes. This will help keep the cookies chewy.


Bake at 350 degrees for 10-13 minutes, until golden brown but not too hard looking on top.


Enjoy with a hot cup of tea and a good book. *Like a collection of poems by W.B. Yeats. Which includes the poem that my oatmeal sings to me; “The Lake Isle of Innisfree.”


Seriously...July

Monday, October 4, 2010

ingredient: BUTTERMILK


Other than the new go-to name for Brooklyn restaurants, what is buttermilk, anyway?

Glad you asked.

When people did such things as make their own dairy products, buttermilk was simply the liquid byproduct of turning milk into cream. These days companies are able to bypass the cream-making process by adding a culture of lactic acid bacteria to milk in order to ferment it. The bacteria increases the acidity of the milk and gives buttermilk its characteristic sour, tangy flavor.

And it’s that sour, tangy flavor that made me shudder the first time I tried buttermilk. It was so thick and off-smelling that I wasn’t clear what differentiated it from spoiled milk. Of course this is partially cultural prejudice because in other parts of the world, such as the American south, people enjoy drinking buttermilk straight-up. Buttermilk is also a popular drink in Scandinavia (but honestly those people will eat anything that’s been fermented. Fermented shark. Fermented lamb’s balls. I see fermented milk as the least of their worries.)

Lately, I’ve seen a resurgence of buttermilk on menus. It's gone beyond the classic buttermilk pancakes to buttermilk waffles, buttermilk fried chicken, even buttermilk ricotta. At first I dismissed buttermilk's sudden popularity as part of the same campaign by the masterminds at P.B.R (Pabst Blue Ribbon Beer)- in other words, it seemed like a genius ploy to sell off-tasting products by marketing them as old-timey and serving them with BBQ. Anyway, buttermilk may be retro, but a poor-man’s Yuengling, I mean milk, it is not.

Buttermilk is the perfect ingredient for any product in the bread/cake/muffin family. It can add a subtle tang to an otherwise sweet dish (buttermilk coffee cakes are delicious) but really I think it contributes most in the moisture department. Maybe because it’s so thick, it does a better job than regular milk in keeping your baked goods nice and moist. It has its uses in cooking as well. Buttermilk dressings are my new favorite for salads and vegetables because they’re creamy without tasting fatty, being gloppy, or generally overpowering my greens.


Buttermilk and Scallion Biscuits with Cracked Coriander


One of the perks of the buttermilk/BBQ revival in America is that here in New York I can order biscuits much more frequently. (Or at least get homemade biscuits more often, because I’m not above a Popeye’s biscuit, especially at 3 am when you’re walking through the drive-through asking for a sixer of “biz-cwees.”)

The following biscuit recipe hits the mark: it’s super-flaky, faintly buttery, and has a nice kick from the scallions. The original recipe called for ramps, but it’s fall, and regardless my grocery store is lame, so I substituted scallions. Unlike most cookies and pie crusts, you don’t have to chill biscuit dough. Which means you can read this and think I WANT A BISCUIT and satisfy your lust in 40 minutes or less. Do it. I know you want to.


3/4 cup chilled buttermilk
3/4 cup scallions, thinly sliced
1 1/2 cups all purpose flour
2 teaspoons baking powder
1 teaspoon salt
1/4 teaspoon ground black pepper
6 tablespoons (3/4 stick) COLD unsalted butter, cut into pieces
1 large egg, beaten with 1 TBSP water to make egg wash
3/4 teaspoon coriander seeds, cracked

Preheat the oven to 425°F.


Mix buttermilk and scallions
in small bowl, then set aside.


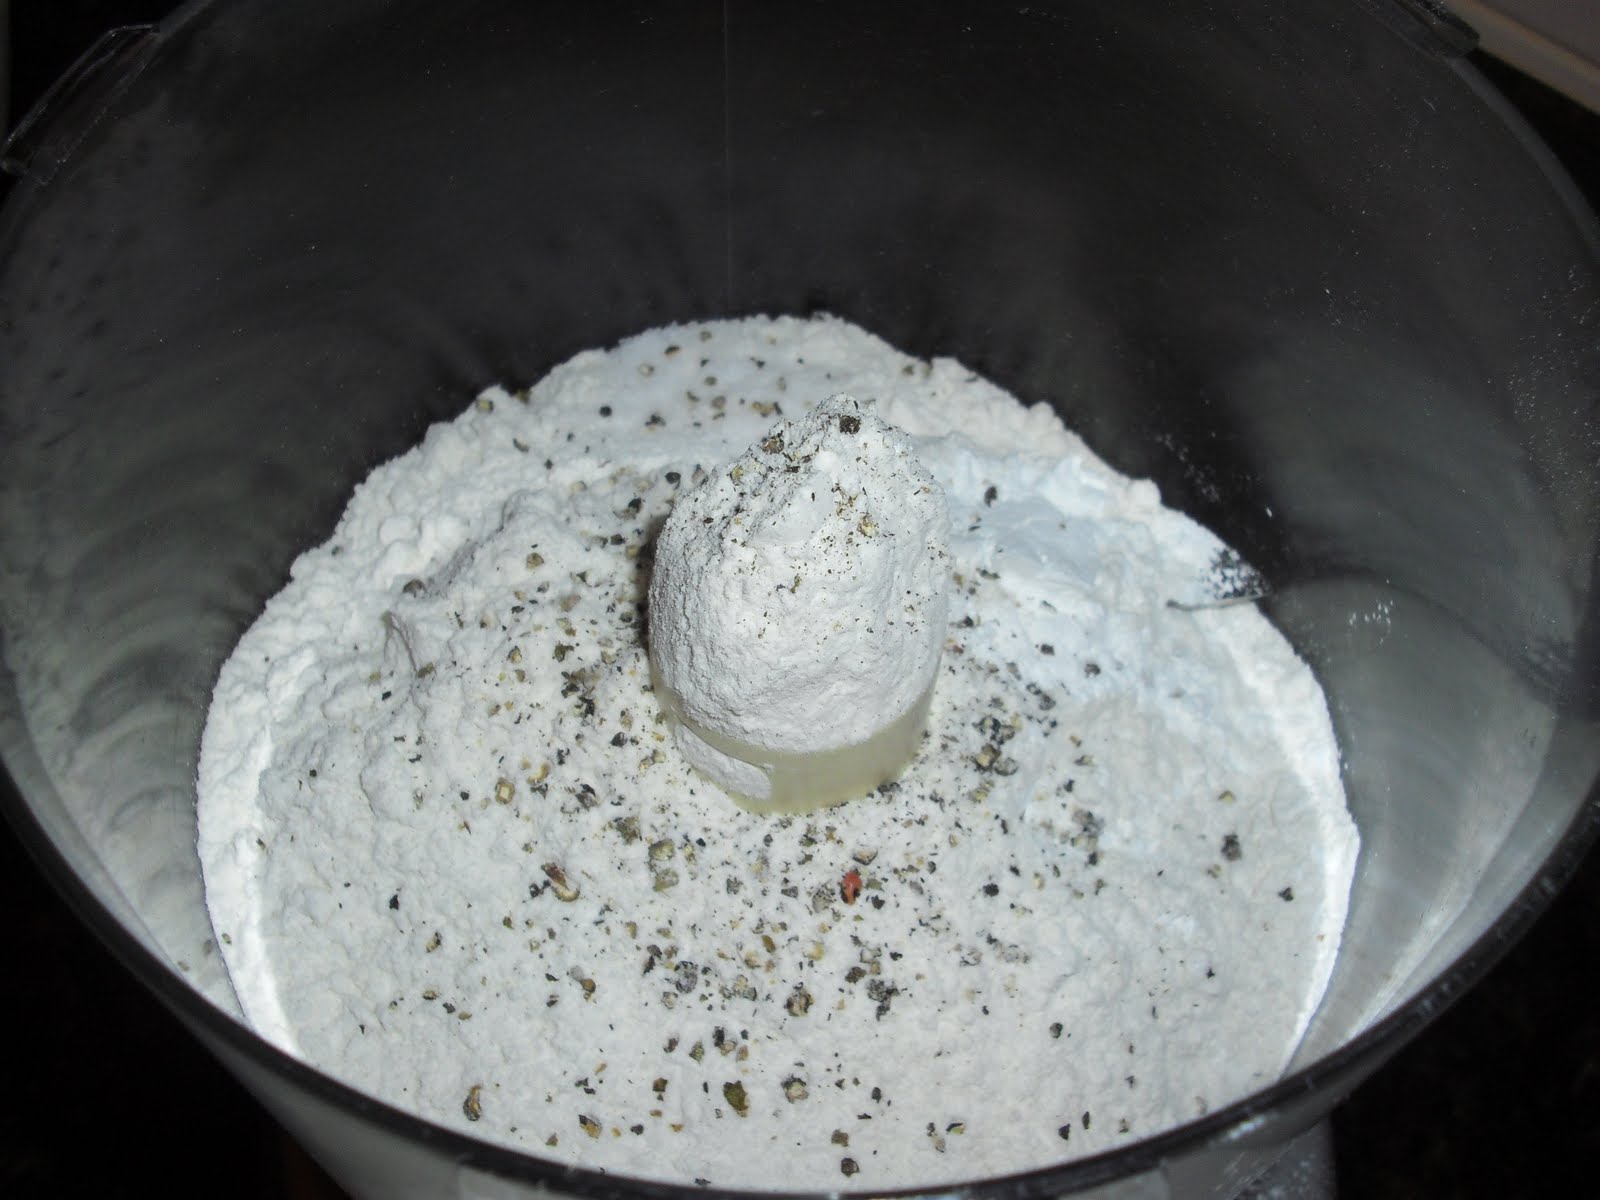
Add the flour, baking powder, salt, and pepper in the food processor, and pulse to blend. Add the cold butter to the processor. Pulse the mixture until the butter is the size of peas. NB: Because I like my biscuits extra flaky, and the melting cubes of butter is what provides this texture in the finished biscuit, I leave my pieces of butter a little bigger in my biscuits than I would in say, pie dough.


Transfer the flour mixture to medium bowl.

Add buttermilk mixture and stir until a dough forms.


Scoop dough out onto a lightly floured work surface and use your hands to press it out to 7x7 inch square about 1/2 inch thick. Cut the dough into squares. This doesn’t have to be super precise, and you can use a biscuit or cookie cutter if you want. I got 8 biscuits of about the same size.


Transfer biscuits to a baking sheet. Brush the biscuit tops with some of the egg glaze, this will make them brown and glow nicely. Sprinkle with cracked coriander seeds.*

Bake the biscuits until golden brown, about 20 minutes. Cool on a rack.


I decided to bring the biscuits to the next level, so I split them in half and topped them with scallion cream cheese and pieces of smoked salmon. They were awesome. You could also do little biscuit sandwiches with ham. And of course they're good plain, hot, and crumbly, straight from the baking sheet.

*The best way to crack coriander is to put the seeds in a ziplock bag, place the bag on a cutting board, or the floor, and pound them lightly with a rolling pin. See below.


Eggplant with Buttermilk-Thyme Dressing
Adapted from Vegetable Harvest by Patricia Fields


I adore eggplant. I am unequivocally in favor of any recipe in which a vegetable gets to be the main ingredient. (Luckily Patricia Fields has written entire book of recipes that do just this; see above.) Though eggplant may be the meat (bad-da-ching) of this recipe, the flavor is in the dressing. Thyme is the perfect herb here; it stands its lemony ground but doesn’t overwhelm. The buttermilk is important because it’s rich enough to smooth over the spiciness when you get a bite of the raw garlic. Also, don’t you hate it when you drizzle a dressing over a vegetable and it sits there stodgily, making it so you don’t get dressing with every bite? Not the case here: this dressing is light, with just enough body to coat the eggplant evenly. Feel free to try it on other veggies or a salad. I know I will.

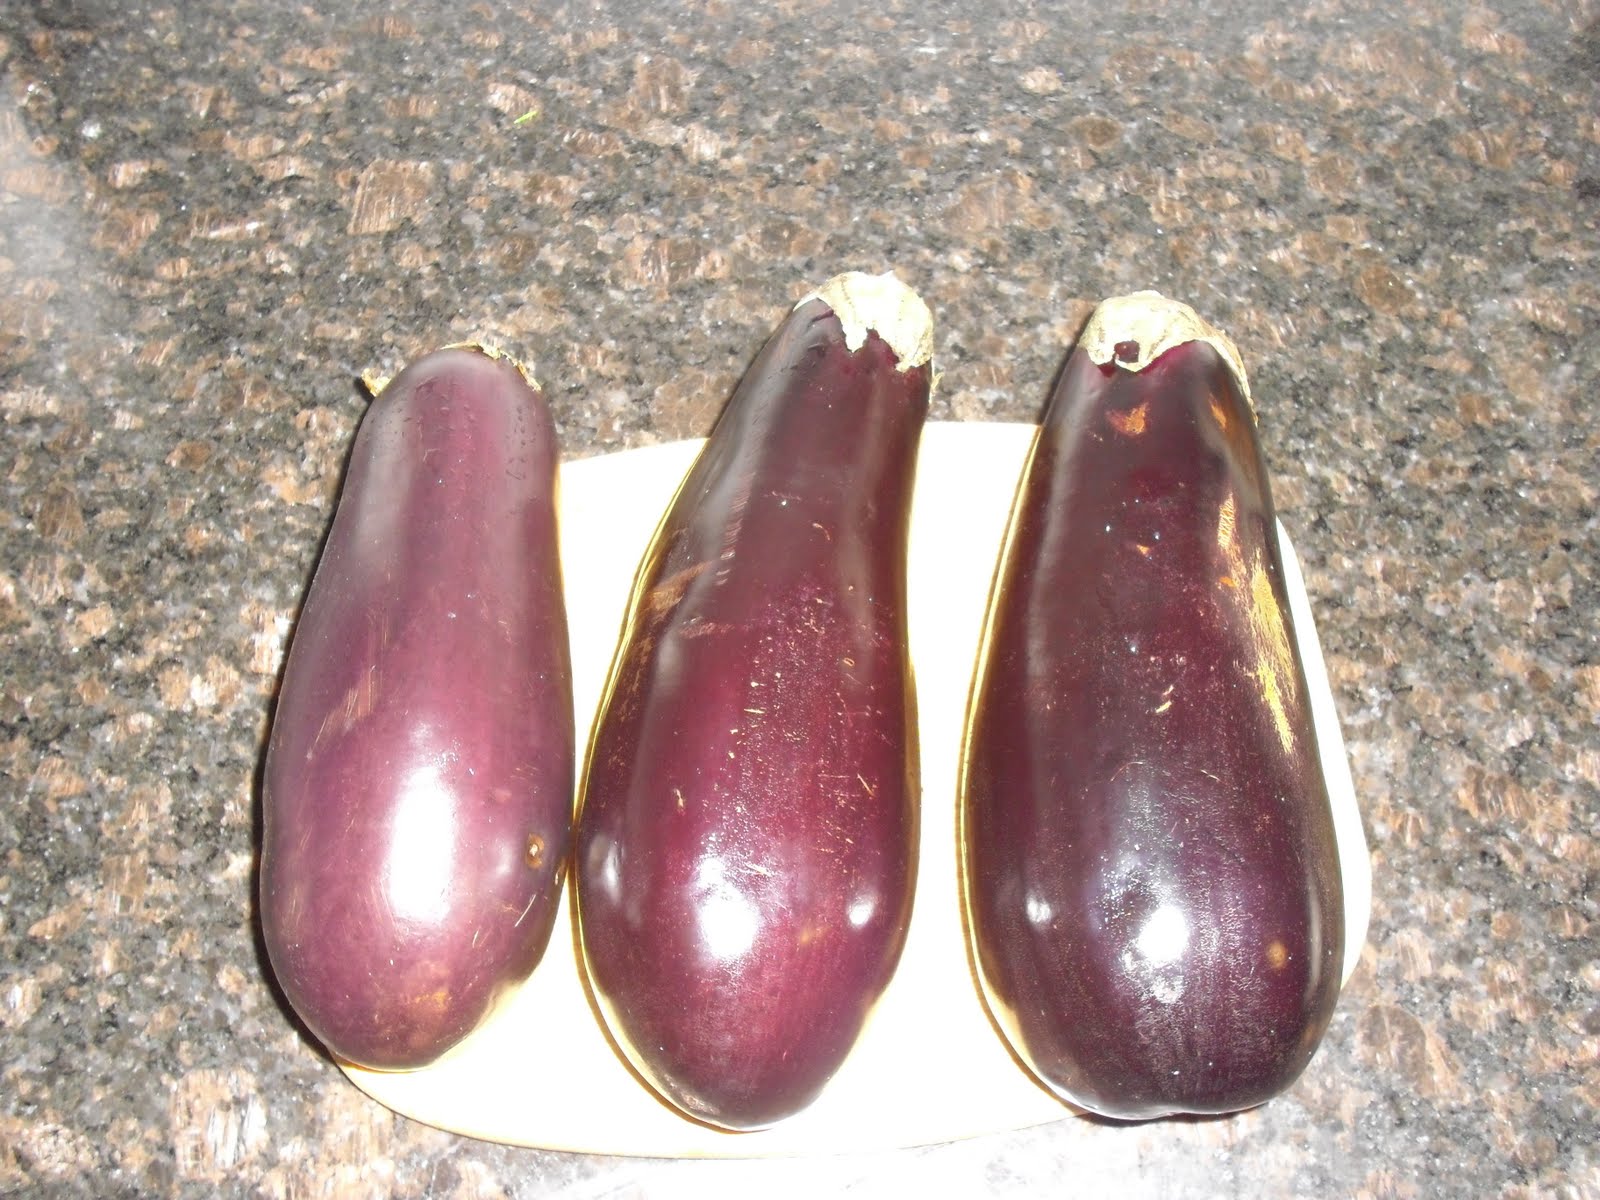
2 to 3 Japanese eggplants (these are the long, smaller type, not the big, fat, Italian type)
3 large cloves garlic, minced
for dressing:
½ teaspoon sea salt
2 teaspoons extra virgin olive oil
1 tablespoon mustard (preferably a smooth Dijon)
1 teaspoon fresh thyme leaves
½ cup buttermilk

To make the dressing, combine the salt, olive oil, mustard, thyme and buttermilk in a small jar. I had a mason jar, but you can also use an old jam or mayo jar, or to be honest, just put the ingredients in a bowl and stir energetically, but then you miss out on the fun of shaking it. Cover the jar and shake the ingredients to blend. Let the dressing sit for an hour in the fridge to allow the flavors to blend.


Cut the eggplant into long strips, and then cut those strips in half, so that your eggplant looks like thick-cut fries. This is honestly a matter of preference though, and you could cut it into cubes and be done with it.


Bring about 2 cups of water (depending on the size of your steamer) to a simmer in the bottom of your steamer. Place the eggplant on the steaming rack, cover, and steam until the eggplant is soft and cooked through, about 15 minutes. Again, cooking time will vary with the size of your steamer, and the size of your eggplant pieces, so check the eggplant at about 10 minutes to see if it’s done. Also, if you wanted, you could just sauté the eggplant in a pan with a tablespoon of olive oil.


When the eggplant has cooked, transfer the pieces to a platter or serving bowl. Sprinkle the garlic over the eggplant, season with salt, and then drizzle over 2 TBSP or so of the buttermilk-thyme dressing. It’s up to you how saucy you like your vegetables. I found a few tablespoons of the dressing went a long way! Gently toss the eggplant to coat it, and serve warm.

yum.

Thursday, September 30, 2010

ingredient: HONEY


We happen to be at the end of national honey month (don’t worry, October will have its own special causes; it’s National Celebrate the Bilingual Child Month and National Caffeine recovery month. I won’t be celebrating the latter. It will also be National Self-Promotion Month, so maybe this blog should have waited). But the fact that the Government or the National Honey Board is telling me that we should all be consuming honey this month isn’t why I’ve chosen honey as my inaugural post. You see, of my food obsessions, honey ranks number three (behind good bread and jam. If it turns out that Buddha runs the universe, I might get reincarnated as a Parisian breakfast.)


Honey is delicious, all natural, and just plain fascinating. It’s made by insects, for God’s sake. We are actually eating something (well nectar, specifically) that’s been partially digested and then regurgitated by bees. That is bananas.


And humans have been harvesting honey for around 10,000 years, and recent research has found that honey is as effective as over the counter cough medicines in treating sore throats and coughs, and honey never. goes. bad. ! I know what I’m putting in my pocket when the bomb drops; a nice bear-shaped container of honey, that’s what.


Most importantly, honey just tastes good. Though it certainly doesn’t all taste the same. In fact, like wine, honey is all about terroir. If the bees were feasting on clover it will taste different than if they were suckling orange blossoms. Depending on the variety, honey can be floral, it can taste like molasses, or it can taste like fruit. (As in blueberry honey, try it.)


The truth is that while I often cook with honey, the far most frequent way I imbibe this golden syrup is straight, with a spoon, from the jar. If I have saltines lying around I’ll put it on those, because saltines are, true to their name, actually very salty, and the honey flows over the salt crystals, and falls into the little holes that line the crackers, and oh my god the salt-sweet combination is amazing. But what kind of recipe post would that be? Open honey. Put on crackers. Die of happiness.


I’ve found two slightly more complicated recipes which still showcase this awesome product: A Honey and Pine Nut Tart and a Walnut Pesto whose secret but star ingredient is, as you might have guessed, honey.


Honey and Pine Nut Tart (Crostata di Miele e Pignoli, adapted from Dolce Italiano by the magical Gina DePalma)


I decided to make this tart because my Grammy is staying with me, stuck in bed with a broken shoulder. One of her favorite sweets are pignoli cookies, and I wanted to make her something special, so this tart seemed like just the thing. The dough is easy to make because it’s all done in the food processor. The filling is similar to a pecan pie; it’s basically an oozy syrup you sprinkle with nuts, in this case pignoli. I found that the amounts given in Dolci Italiano gave me way too much crust/filling for my 9” tart pan (and I think it would have been too much even if I had had the 10” pan the recipe called for). Luckily I just bought these cute little mini tart pans, which have now avoided their almost inevitable fate as one those specialized kitchen tools I never actually end up using (one day, I swear those individual ramekins will make it out of the cupboard, even if I just fill them with nuts at a party.)


The results were great: the big tart and the baby tarts were both equally delicious. The filling was gooey and sweet, but the pine nuts gave it a nice, round nuttiness. I used three kinds of honey for filling because I couldn’t choose between them; Murray’s early spring honey, Red Bee wildflower honey, and honey from Stonypoint Aparies in Vermont. The crust itself is a keeper; dense enough to hold up to the intense filling, but flaky at the same time. The lemon zest surprised me by adding a brightness that cuts across the sweetness of the honey. I’ll definitely use this crust for other tarts. In fact it might be the perfect excuse to move onto jam…


Tart Crust:

2 1/3 cups unbleached all-purpose flour
1/3 cup granulated sugar
1/2 teaspoon salt
1/2 teaspoon baking powder
Freshly grated zest of 1 lemon
1.5 sticks COLD unsalted butter, cut into cubes (in fact I like to take the butter out of the fridge, cut it, then stick it back in until I’m ready to use it)
1 large egg
1 large egg yolk
1/2 teaspoon pure vanilla extract
1/4 cup heavy cream
Ice water, if necessary


Directions:


Place flour, sugar, salt, baking powder, and lemon zest in the bowl of a food processor. Pulse to combine the ingredients. Add the butter to the bowl and pulse until the butter is the size of peas (the petite, frozen kind, not the big plump fresh kind).


In a separate small bowl, whisk together the egg, egg yolk, vanilla extract and heavy cream. Pour the wet ingredients into the food processor and pulse until the dough starts to come together. I find that nine times out of ten I need to add some of the ice water to help the dough form into a ball, but be cautious, adding just a little at a time. Or as the Italians say, piano piano!


Take the ball of dough from the food processor, shape it into a disk, cover it with plastic wrap, and let it rest in the fridge for an hour.


Honey and Pine Nut Tart:


1 tart crust

2/3 cup honey
1/2 cup granulated sugar
1 teaspoon kosher salt
2 sticks unsalted butter, cut into pieces
1/2 cup heavy cream
1 large egg
1 large egg yolk
1 1/4 cups pine nuts

A ten-inch tart pan with a removable bottom

directions:

Preheat the oven to 325 degrees.


Take the dough out of the fridge and roll it out on a floured surface. The dough should be about 1/8 of an inch thick and 11 inches across. Place the dough in the tart pan, pressing down on the bottom and sides of the pan. Full disclosure: when I tried to move the dough, parts of it broke apart. What I love love love about this type of dough, however, is that you can just take the broken bits and gently smush them back together. Once the filling is in, no one will see that its Franken-dough.


Make the filling by putting the honey (or honeys), the sugar, and salt in a medium saucepan and stir to combine. Add the butter (being in pieces will help it melt faster) and turn the heat to medium-high. Bring the mixture to a boil, stirring often.


When the mixture has reached a boil, take the pan off the heat and pour the mixture into a medium sized mixing bowl. Allow it to cool for 20 to 25 minutes. Whisk in the heavy cream, egg, and egg yolk.


Take the tart shell out of the fridge and pour in the filling. Then sprinkle the pine nuts evenly over the top (Gina says to put the pine nuts in first, but I was afraid they wouldn’t rise to the top and create that beautiful pine nut crust, so I just sprinkled them on top). Place the tart on a baking sheet, put it in the oven, and bake until the crust and the top are golden brown and the custard is set but still jiggly, about 40-50 minutes. Basically the custard will become more firm as it cools, so don’t worry if it doesn’t seem totally cut-able when you pull it out of the oven. So yes, it will be hard, but do wait to eat it until it cools. But then…dig in!


Grammy enjoying the tart :)


Walnut Pesto:


I made this pesto to recreate my favorite fall dish as a child. There used to be an Italian specialty store on Hudson Street which sold pumpkin ravioli and containers of walnut pesto. Together, the combination blew my little mind. When I saw that Murray’s (yes, I spend a lot of time/money there) had fresh pumpkin ravioli, I almost jumped for joy. I immediately knew I had to recreate that walnut pesto. I think it came out just as good as I remember, and that’s saying something, given that nostalgia is like MSG for food, a super-flavor enhancer.


ingredients:

1 cup walnuts, toasted

¼ cup of honey

1 TBSP thyme

Olive oil, about 2/3 cup


Directions:

To toast the walnuts, either spread them on a baking sheet and bake them in the oven for about 10 minutes at 400 degrees, or do as I did (since the tart was occupying the oven) and put them in a skillet. Toast them on medium high heat until they get fragrant and turn a shade darker, about 8 minutes.


Put nuts, honey, and thyme in a food processor. Pulse until it is a coarse paste. Add olive oil and pulse until the pesto emulsifies. You want the pesto to be thin enough to be a sauce but not too oily. Especially if you’re putting it over pasta, you’ll thin it out with some pasta water.


Here is the pesto spooned over the pumpkin ravioli. So rich, so autumnal, so amazing!